A repair ticket intake checklist is the set of details a shop records at drop-off, before any work starts: device identity (IMEI or serial), physical condition, included accessories, pre-repair diagnostic results, the assigned technician, and a signed customer acknowledgment. Recording this information in a consistent order protects your shop from "it wasn't like that when I dropped it off" disputes, keeps parts and accessories from going missing, and gives the customer a clear record of what they're paying for. Skipping steps at intake is one of the most common sources of friction between shops and customers later in the repair cycle. The routine below breaks intake into a repeatable sequence any staff member can follow, whether it's their first week on the counter or their five hundredth ticket.
Why a Standardized Intake Checklist Matters
Most disputes don't happen during the repair. They happen at pickup, when a customer notices a scratch they insist wasn't there, or when a case or SIM tray is missing from the box. Without a written record from intake, these conversations default to "he said, she said," and the shop usually loses the benefit of the doubt.
A standardized checklist removes guesswork. Every ticket captures the same fields in the same order, so staff aren't relying on memory and customers get consistent treatment regardless of who's behind the counter. This matters even more as a shop grows past one or two technicians, when verbal handoffs between front desk and bench staff stop being reliable.
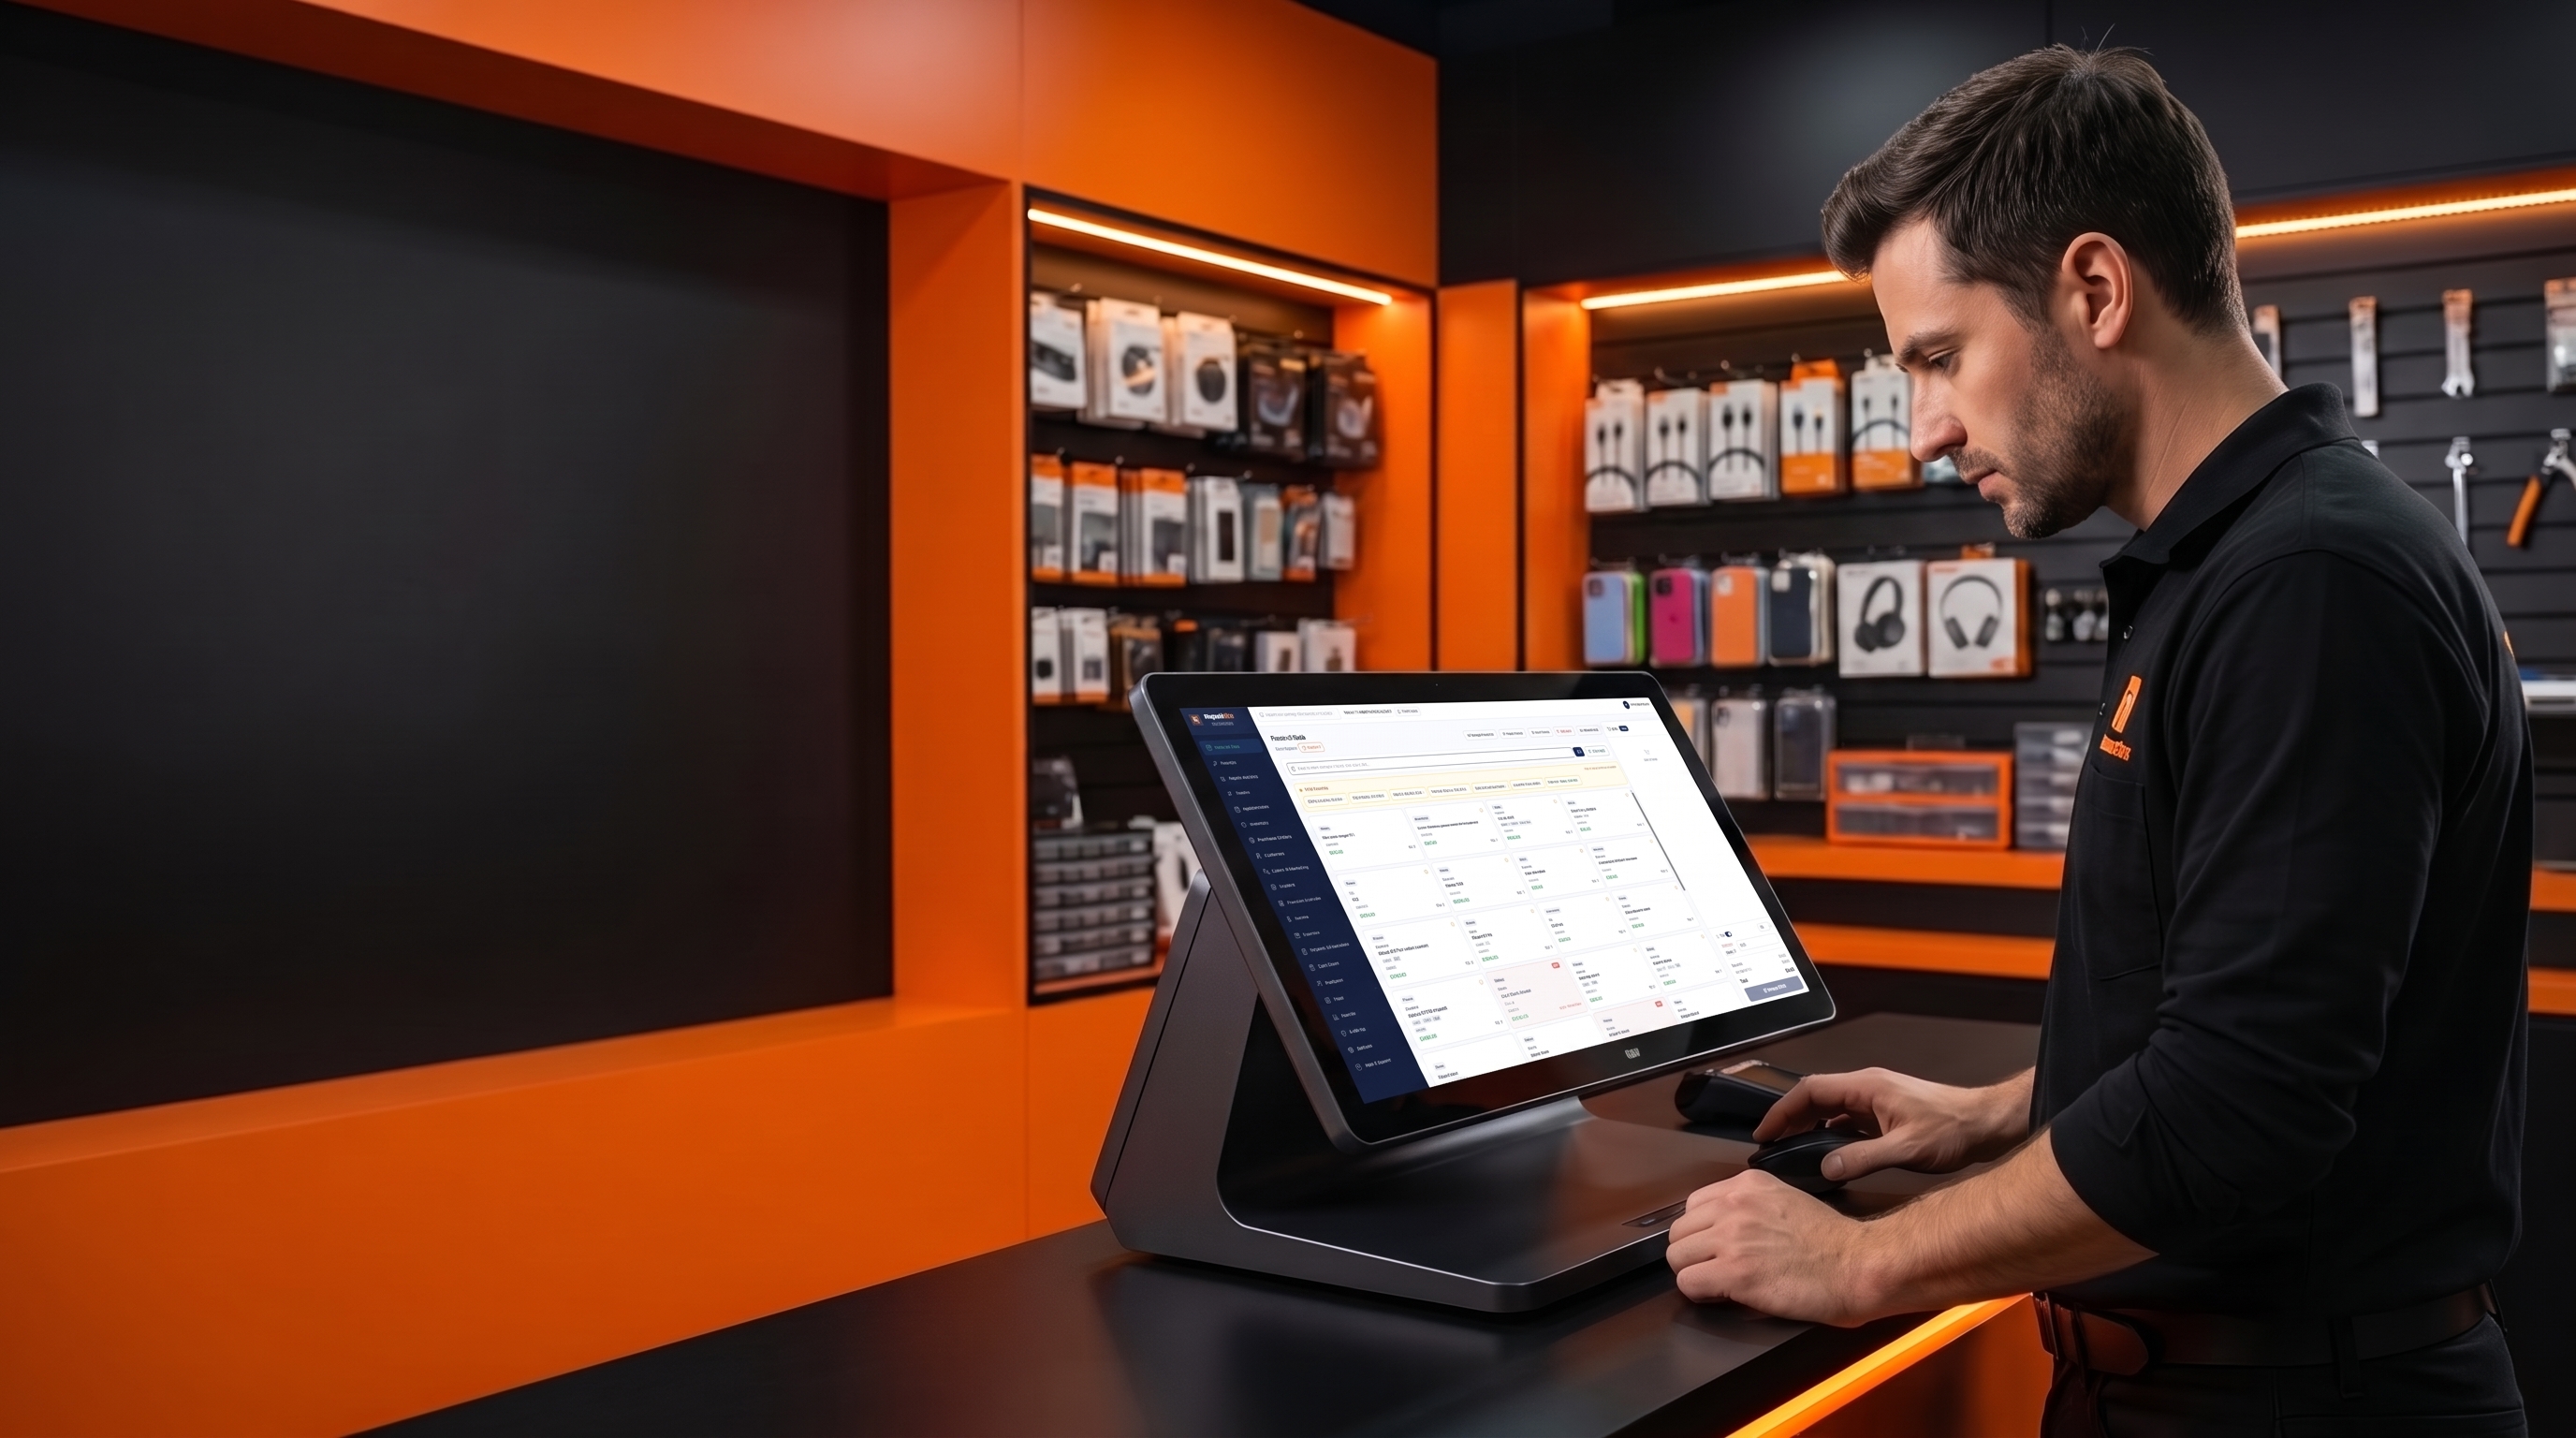
Using repair ticket software to structure these fields means the checklist isn't optional or easy to skip under a busy counter — the required fields simply have to be filled in before the ticket can move to the next status.
Step 1: Record Device Identity
Before anything else, confirm what device is actually in front of you. Record the make, model, and IMEI or serial number. For phones, the IMEI can usually be pulled from the dial pad (*#06#) or the settings menu if the device powers on; if it doesn't power on, check the SIM tray or original box. For laptops and tablets, the serial number is typically on the underside or inside the battery compartment.
This step matters for two reasons. First, it confirms the device matches what the customer describes — mismatched model numbers happen more often than you'd expect, especially with older devices or carrier-locked variants. Second, it creates a searchable record if a device needs to be cross-referenced later, whether for warranty history, a stolen-device check, or simply pulling up a past repair. Shops using IMEI tracking software can log this number once at intake and have it auto-populate across repeat visits, which saves time on returning customers.
Step 2: Document Device Condition Before You Touch It
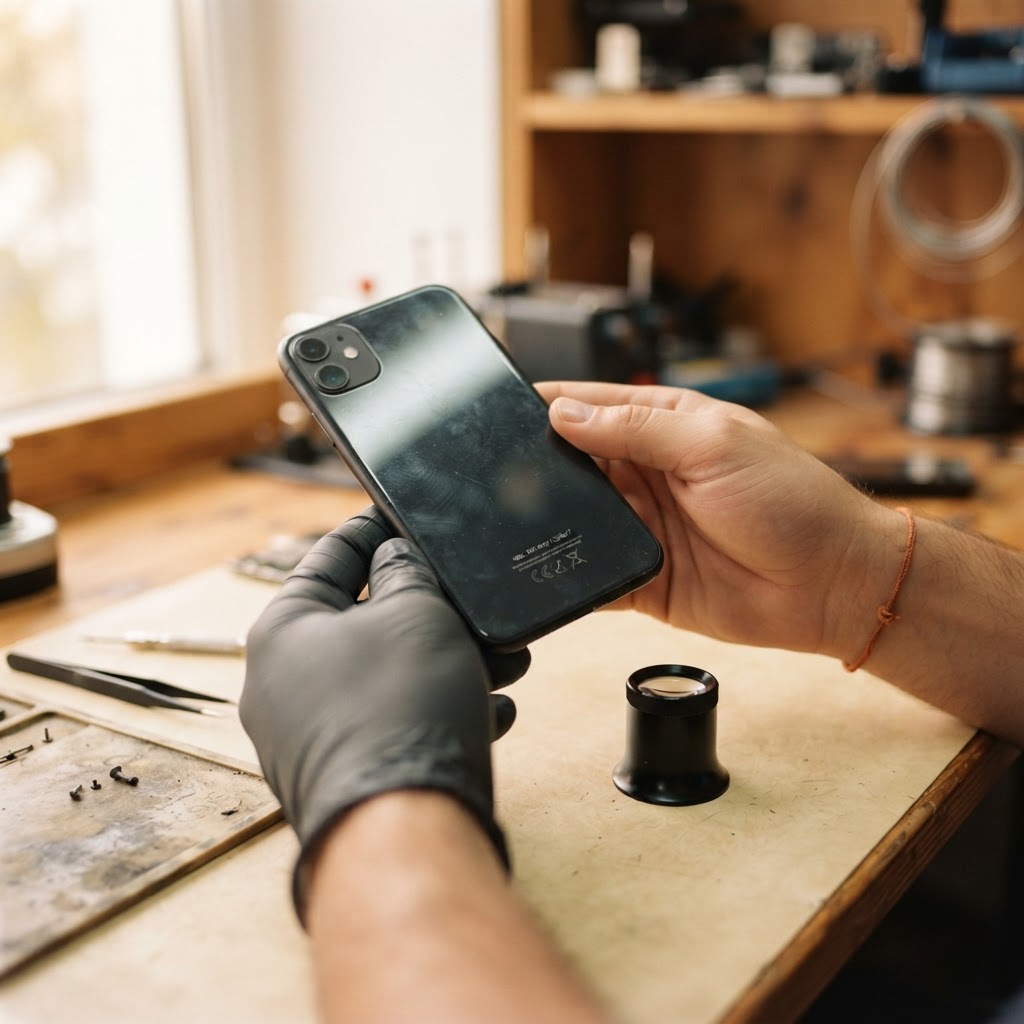
This is the step most often rushed, and it's the one that prevents the most arguments. Walk around the device with the customer present and note every existing scratch, crack, dent, or missing button. Be specific: "hairline crack top-right corner of screen" is far more useful later than "minor cosmetic damage."
Photograph the device from multiple angles — front, back, both sides, and the screen powered on if possible — with a timestamp visible if your system supports it. Store these photos directly on the ticket rather than on a personal phone, since they need to be retrievable weeks later if a dispute comes up.
If the device won't power on, note that explicitly on the ticket. "Device dead on arrival, condition assessed visually only" is a simple line that avoids confusion if the device powers on later during diagnostics and a new scratch is discovered, pre-existing or not.
Step 3: List Included Items and Accessories
Ask the customer directly what they're leaving with you, and write it down rather than assuming. Common items include the charger, case, SIM card, memory card, and any carrying bag or box. If the customer says "just the phone, nothing else," write that down too — it protects the shop just as much as listing items that were included.
For example, a customer drops off a laptop for a screen repair and later claims a charging brick was left with it. A ticket that reads "device only, no charger or accessories, confirmed with customer" settles that question in seconds instead of turning into a drawn-out back-and-forth.
Step 4: Run Pre-Repair Diagnostic Checks
Before the technician starts the actual repair, run a basic functional check and log the results. This typically includes testing the power button, volume buttons, charging port, speaker, microphone, cameras, Wi-Fi, and touch response across the full screen. For laptops, check keyboard function, trackpad, ports, and battery charging behavior.
The point isn't to diagnose the original problem in depth — that's the technician's job once the device reaches the bench. The point is to catch any secondary issues that exist independent of the reason for the visit. For example, if a customer brings in a phone for a cracked screen but the speaker was already faulty before the repair, noting that at intake means the shop isn't blamed for a problem it didn't cause.
Step 5: Assign the Technician and Set Expectations
Once intake details are logged, assign the ticket to a technician and set a realistic timeframe. Avoid vague estimates like "should be ready soon" — give a specific window, such as "same day if parts are in stock" or "two to three business days if we need to order the part."
This is also the point to confirm pricing, including any diagnostic fee that applies even if the customer declines the repair after assessment. Explain what happens if the technician finds additional issues once the device is opened — for example, a liquid-damage case that turns out to need a logic board replacement instead of a simple charging port swap. Getting verbal agreement on how price changes will be communicated avoids an uncomfortable conversation at pickup.
Step 6: Get the Customer's Signature and Explain Next Steps
Have the customer review the ticket — device condition notes, included items, estimated cost, and estimated completion time — and sign off before leaving. A signature confirms the customer agrees with what's written, not just that they dropped off a device.
Tell the customer how they'll receive updates (text, email, or phone call), how they can check status if they want to follow up themselves, and what to bring at pickup, such as a government ID or the original ticket copy. If your shop uses repair shop software with customer-facing status tracking, this is a good moment to walk them through it so they don't call the front desk every day asking for an update.
Step 7: Track Status, Parts, Payment, and Pickup
Once the device moves to the bench, the ticket should keep recording activity: which parts were pulled from inventory, status changes as the repair progresses, and any notes the technician adds if the scope changes. At pickup, confirm the final price matches what was quoted or explained during the repair, process payment, and have the customer inspect the device against the original condition notes before they leave the counter.
Finally, note the warranty terms directly on the printed or emailed receipt — what's covered, for how long, and what voids it (for example, water damage after a screen replacement). A customer who knows the warranty terms at pickup is far less likely to come back with an unrelated issue expecting a free fix.
Treat intake as the foundation the rest of the repair ticket builds on. Get it right at the counter, and most disputes never have a chance to start.
Frequently asked questions
What is the most important field to record during repair ticket intake?
Device condition notes are usually the most important, since disputes most often arise from disagreements about pre-existing scratches or damage. Pairing written notes with timestamped photos gives the clearest record if a question comes up at pickup.
Should I photograph every device at intake, even for simple repairs?
Yes. Even a quick battery swap can turn into a dispute if a customer notices a scratch at pickup that they don't remember being there. A few photos take under a minute and protect the shop regardless of how minor the repair seems.
What happens if a customer refuses to sign the intake ticket?
Some shops hold the device until the ticket is signed, since the signature confirms agreement on condition and pricing before work begins. If a customer is unwilling to sign, it's worth clarifying what part of the ticket they're uncomfortable with before proceeding.
How long should intake photos and records be kept on file?
Many shops keep intake records for at least as long as the warranty period on the repair, often three to six months, though some keep them indefinitely if storage allows. Software that stores photos directly on the digital ticket makes this easier than relying on staff phones.
Ready to grow your repair shop?
Manage repairs, POS, inventory and invoicing in one place. Free to try — no credit card required.
Start Your Free Trial